Julie Harrison of Pattern Play Studio is one of the talented designers featured in our Artwork Library. Julie is a multi disciplined designer who works across platforms of surface design. As a professionally trained graphic designer with years of experience under her belt she has kindly given us a glimpse into her work flow of taking a hand painting to a print ready file. Weather you are a seasoned professional or new to digital design Julies insight way of working has definitely taught us a thing or two.
A bit about Julie
- Tell us about your path in design, what led you to where you are today?
I initially studied a two year Commercial Art course at Queensland College of Art, in the days of ‘cut and paste’ and bromide machines and the time before computers. I finished earlier, not completely graduating and ended up travelling overseas for a few years, enjoying life and all the social adventures of a young twenty-something, before finally returning home to Australia to put my focus to art once again. I have studied courses in design and painting. My tutor said to me “You’re too graphic in your painting process, too neat and tidy”. “It isn’t a bad thing,” he added, “It’s obvious to me that your strengths are leaning towards the graphic design side of art, not fine art painting”. So I gathered mu portfolio together and went about being trained as a professional graphic designer.
After twelve years in the industry from a junior in small business to a senior in corporate team leading environments, it was time to break free of the nine to five grind and work on my own creative projects and best of all for my own clients. Safe to say I haven’t looked back at quitting the corporate office cubicle.
As for textile design or the term “Surface Pattern Design”, I am completely self-taught thanks to completing a couple of on-line modules from the UK and USA in 2014. Also I read loads of blogs and watched You Tube tutorials, followed other creative designers I admire, and networked with other designers locally here in Brisbane and internationally online.
- What design advice would you tell yourself of ten years ago?
Practice more, do the work and put the hours in with your art and advancing your drawing or painting skills. Learn as much as you can and most of all, have fun whilst doing it.
Believe in yourself and your creative ability. Don’t hold yourself back waiting for the perfect time to design or have your design be perfect. If you want to leave the boring job to be your own independent designer, make sure you do it sensibly. For example, I reduced my hours at my full time job and worked on Pattern Play Studio one day a week initially, plus on weekends and after hours until I could leave it forever and solely work for myself.
- Your time and skills are your assets and the value of your work, how do you manage the time it takes to create a design?
In basic terms, time management is key to maximising your income as a designer. Have a plan and know what hourly rate you want to make after you’ve factored all your expenses into account: hardware, software, art materials, printing costs etc.
The more knowledge and skills you have with software programs, the more efficient I believe you can work. The more art you practice, the more creative you will become and you will find your unique style and the quality of the art will also improve.
It’s important to work within the brief set by the client/customer and to meet their deadlines, as much as it is essential for you to educate your clients on how long completing a ‘design/pattern’ will take you. Then stick to an agreed plan or business contract, and factor in time for reviews and proofs and a couple rounds of design changes.
Before we begin the tutorial here are Julie’s top tips
- Paint on the best paper you can afford.
- The composition doesn’t have to be perfect, paint motifs individually on separate sheets until you get the best ones that you’re happy with
- Set up your artboard to 300ppi at tile size, set guidelines and extend the canvas of your artboard by a couple of inches/cm. Then lock your guides.
- Use a layer mask to ‘hide/show/remove’ the background without damaging or deleting the artwork. You can modify this process by adding or deleting the mask until you get your motif edges cleaned up and ready for the pattern design process.
- Compile your composition in photoshop, working in layers.
- Save as a layered tiff file. Place a marquee around the gridlines, and go to Define pattern.
- Test pattern repeat by making a new document at a bolt of fabric size for example and place pattern layer in at 100%
Tutorial – Painting to Digital File
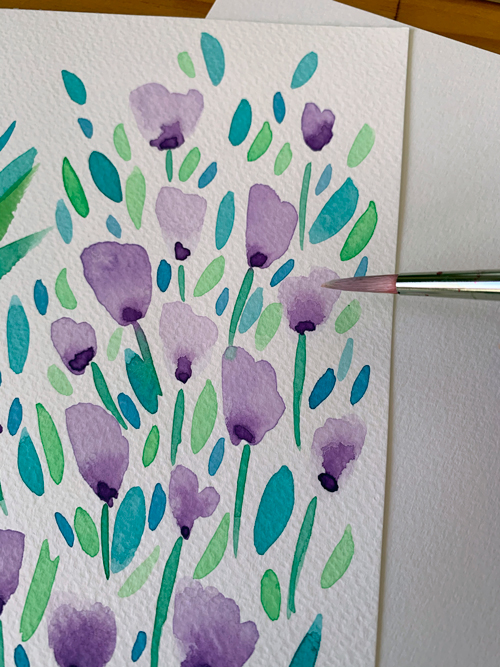
Try to use the best paper you can afford, 100% cotton is great. It really will give you good results. Any type of watercolour is suitable, I like Winsor and Newton and Sennelier. Don’t worry about making the ‘perfect composition’ with your painting or pattern on your paper. Relax and have fun with the process and paint your motifs. You can use multiple sheets of paper to paint individual motifs and practice your paint marks. Later you can combine the best of your motifs into the pattern in photoshop.
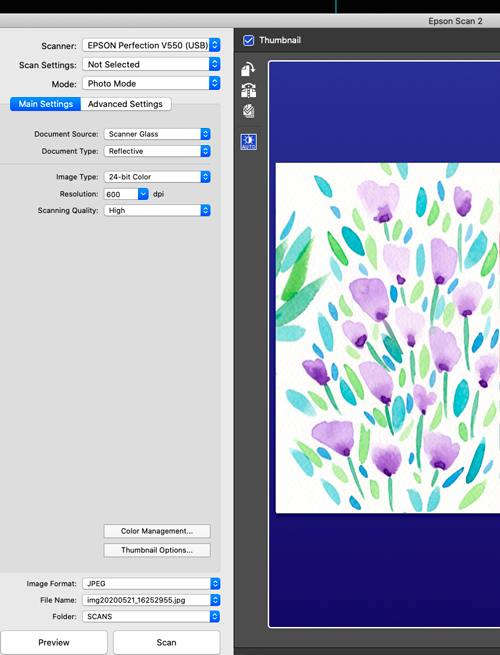
Scan your watercolour painting once dry at a high resolution. This will help maximise the size you can make the motifs in your design. 300dpi is optimal for printing, I like to scan at 600dpi and save a copy as a master scanned file.
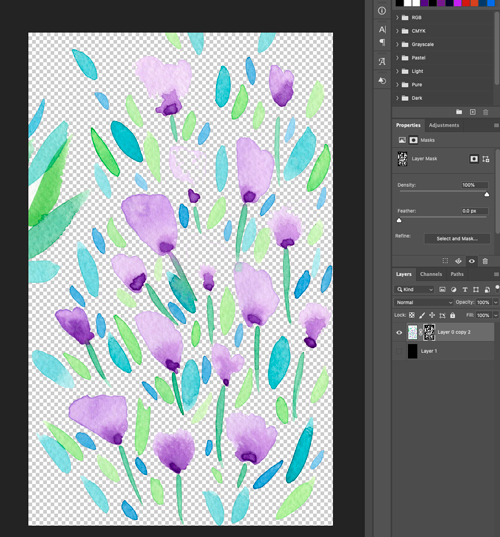
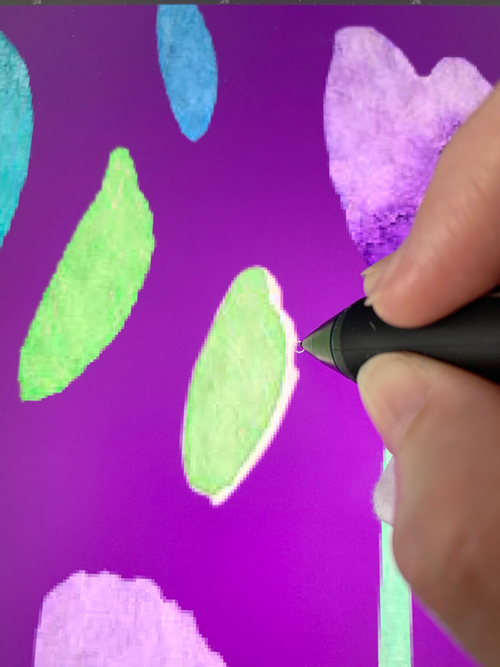
One of the biggest tips is to work with layer masks in Photoshop. You can go back and forth adding or removing elements. It ensures the original art is not erased or destroyed.

You want to remove the background (by using a mask) and to clean up your motifs. Sometimes small white pixels will show around the edges of your painted marks. These are elements of the scanned white paper and you will need to remove them so your painted design will look neat on a coloured background.
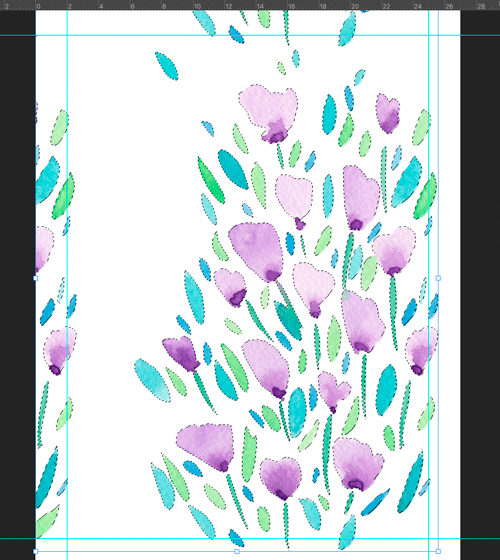
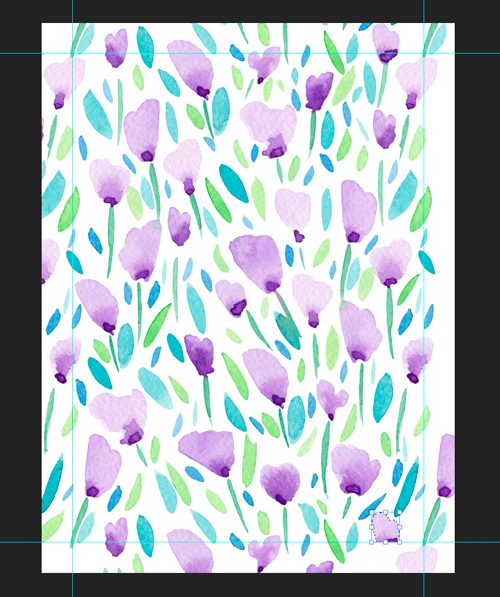
Create a new document at 300dpi. Add guidelines around the
edges. Then go to Image>Canvas Size> and expand
your artboard a couple of centimetres around each
edge. Lock your guides so they don’t move. Begin
copying your recently cleaned up motifs into your new
artboard. You can grab a selection of the motifs all at
once as shown here or bring them into your design one
at a time making new layers as you go.
part A
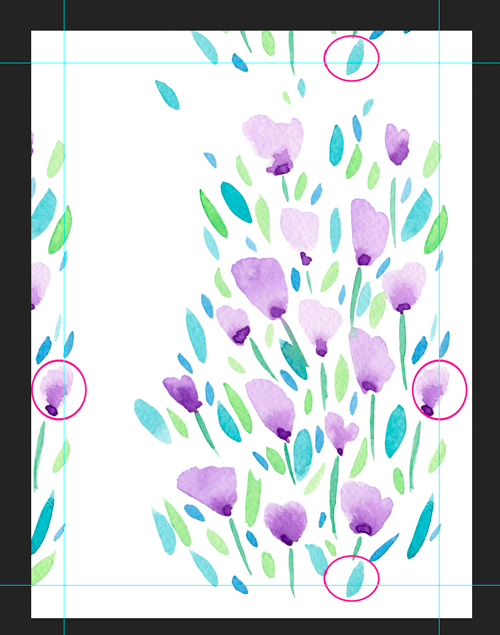
To design a straight seamless repeat pattern,
you must ensure the motifs that are on the edges of
your design and overlap the blue guidelines, are copied
to the opposite side. See the pink circled highlights.
The blue guideline is the area that your design will be
cropped to at the end.
part B
Use the Marquee tool to draw a rectangle
around the top part of the motif. Select the move tool
and hold down Option+Shift (Mac) drag a copy to the
top of the bottom gridline edge. Hint: The marquee
must connect to the grid lines and corner as shown in
the smaller pink circle.
process 6b with the bottom half of the motif and copy it
to the bottom edge of the gridline at the bottom of the
page.
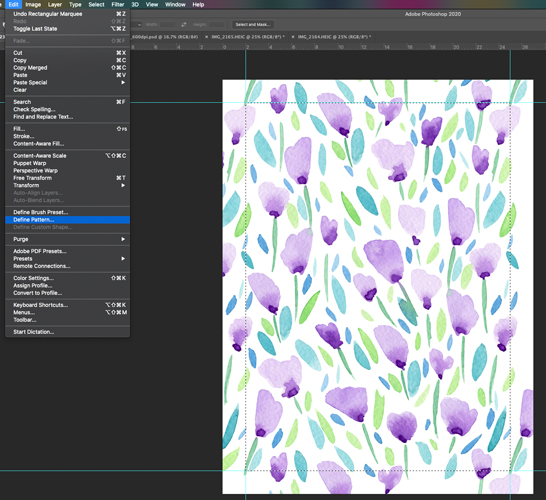
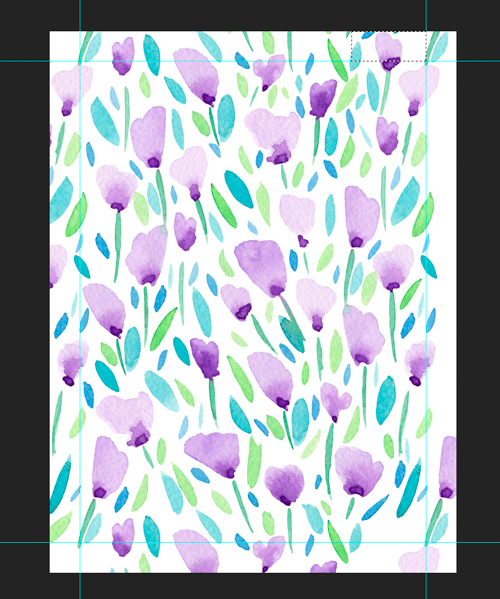
Once you are sure that your design repeats on all edges, save your work as a layered file. Draw a marquee following the gridlines, and select EDIT> Define Pattern. Name your pattern swatch.
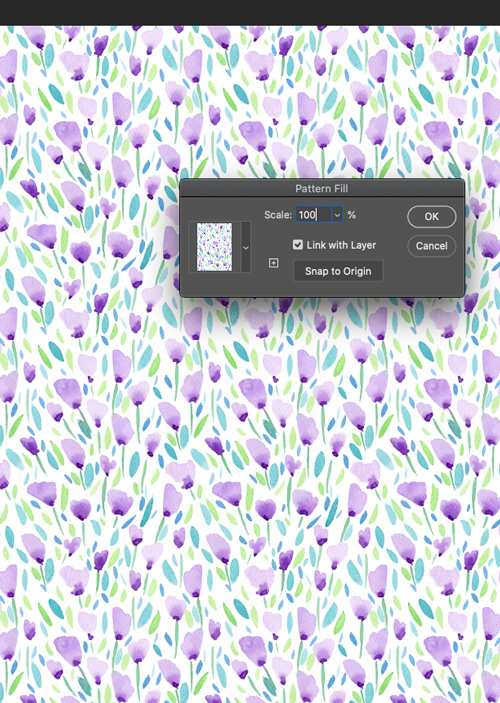
To check the repeat of your new pattern, make a new file. Tip: I usually make this new file the size of a bolt of cloth width = 140cm x height =100cm. Select LAYER > New fill layer > Pattern fill. A dialogue box will pop up asking you to select your pattern and the scale. Choose 100% and you will see the scale of your pattern if repeated on the width of a roll of fabric. It is a good time to see the flow of your design, identify any gaps, and look out for the obvious vertical or horizontal lines that can appear in your repeat. By keeping your layered file previously, you can go back and rearrange some of your motifs until you get the balance right in your design.
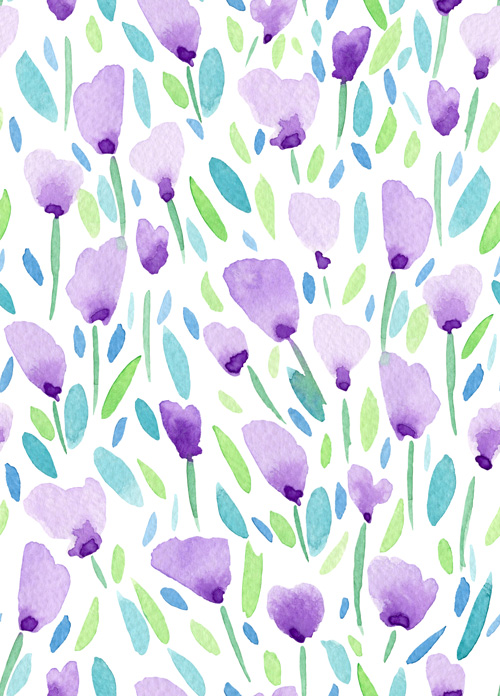
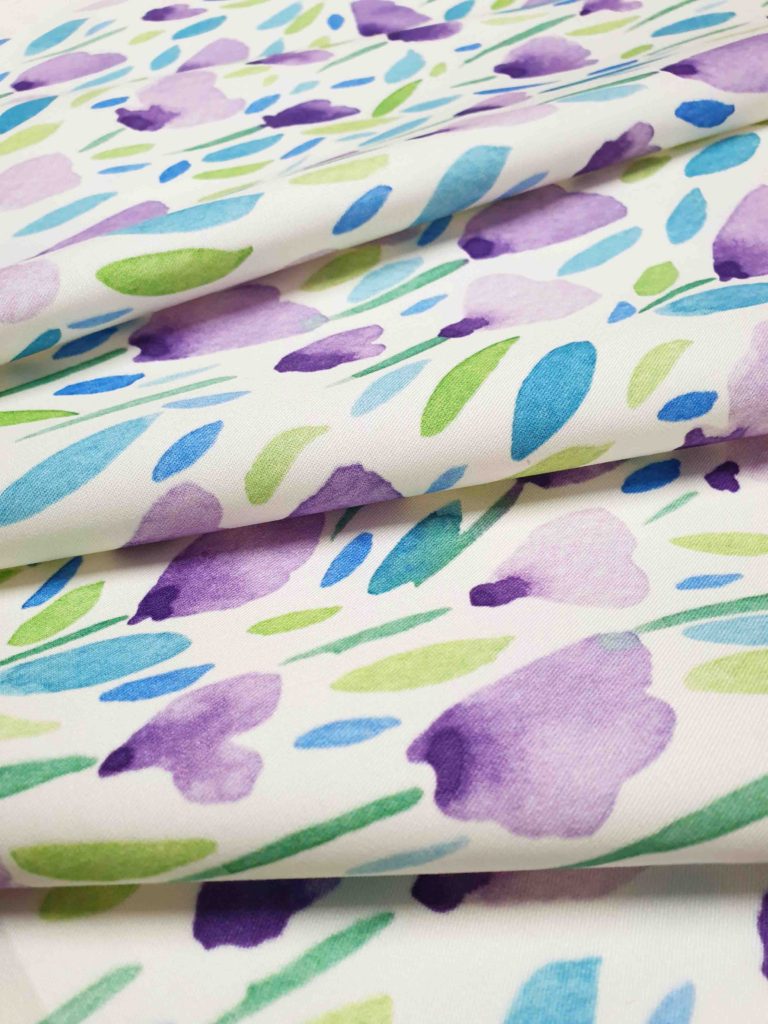
“Lilac Blossom” All Printed and available in our Artwork Library