1. BLANK PIXELS IN A REPEAT TILE
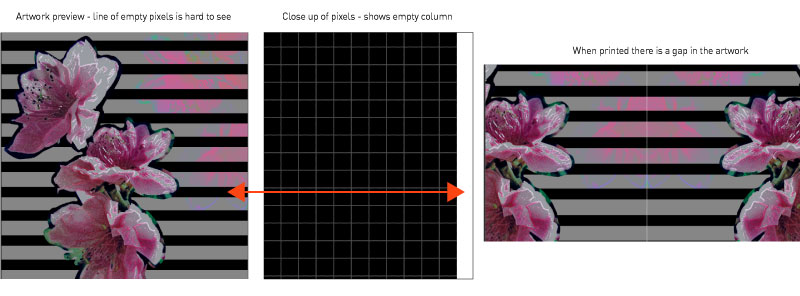
When creating a tile for repeat ensuring the tile is properly framed or cropped is super important. In Illustrator you can often export a file for print and have a band of empty pixels running along one of the sides of the tile. Although small this translates to print.
To ensure this has not happened to your artwork make sure you preview the work and zoom in so close you can see the individual pixels.
If you discover there is blank pixels in your artwork you can remove them in Photoshop by cropping that line out.
2. CORRECT SCALE
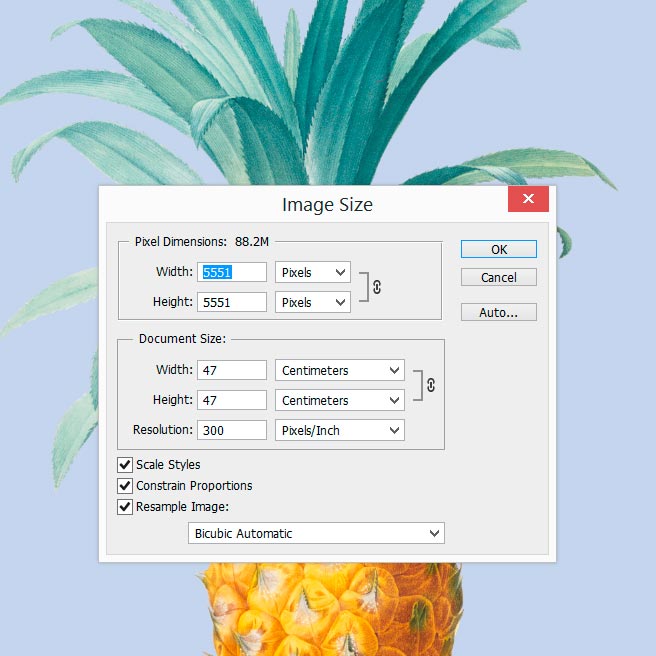
A digital printer will print a file at the exact scale it is set to. Ensuring that the artwork scale is correct will provide the outcome you need. If your print needs to be printed at 50cm x 50cm then you need to create a file at that scale.
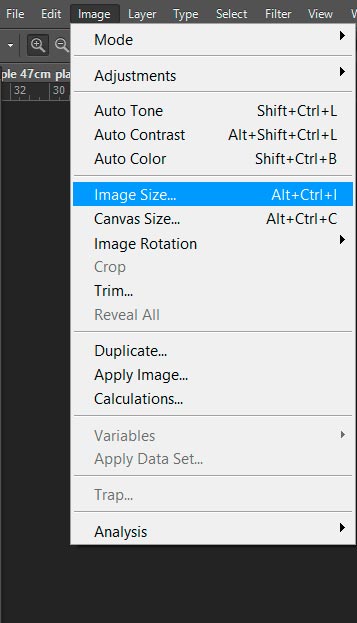
Check the scale of your artwork in Photoshop via the “image” tab and select “image size.” You can also just print out your artwork on a desktop printer at home or the office and make sure you do not scale image to fit.
3. CHECK THE ARTWORK
When printing a file the printer will provide a translation of what has been provided. It’s a bit of a mean old saying “garbage in garbage out” however it is very true with printing. If you have a low quality image it will print low quality that may mean, blur, pixilation, or if you have taken a photo of something and there is shadows it will print.
We always recommend making sure you are happy with your file so you can get a great outcome with your print. Always check that if you are sending a repeat tile that you can be confident it matches up when tiled from Left to Right and Top to bottom
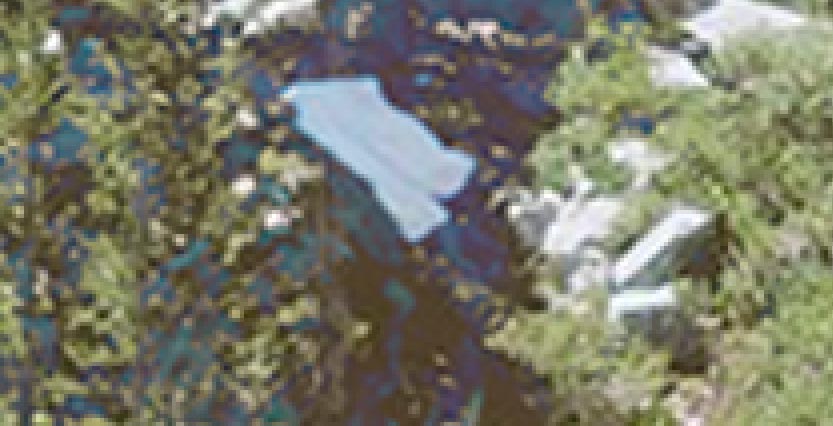
Check for high resolution to give the best print outcome
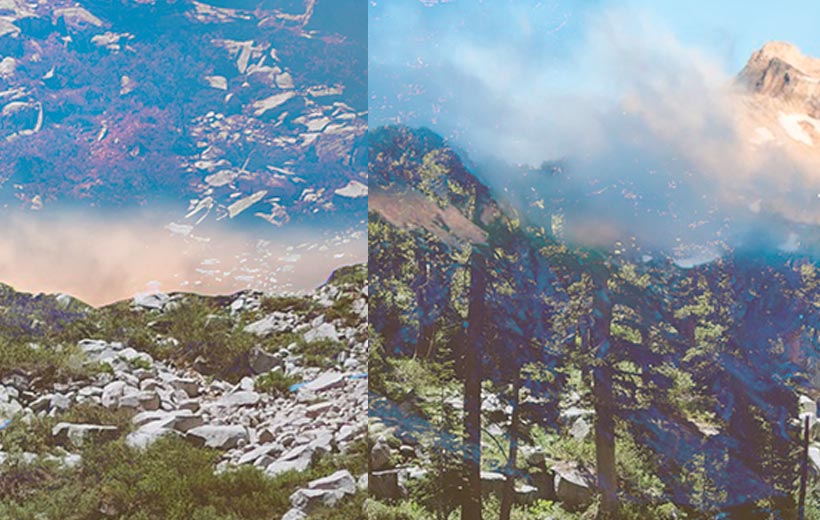
If you want the artwork to repeat make sure it is set as a repeat and you check all sides match up. See image has not been set as a repeat tile
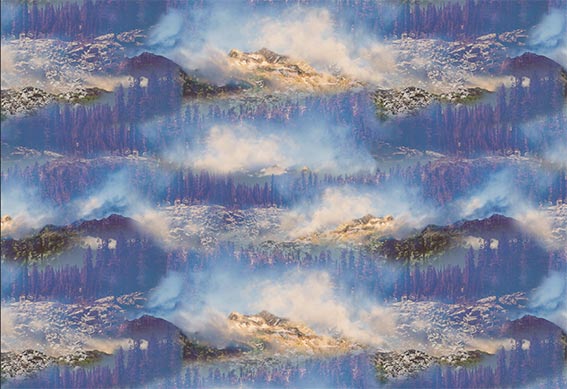
You can see the print matches up on all sides and is set as a repeat tile.