Transform Paintings to Fabric
When creating a painting for fabric there are a few things you can do to make the process go smoother and get you to the best outcome possible. I have given you some advise on what to consider when planning an artwork that is intended to be a repeating (yardage) textile design
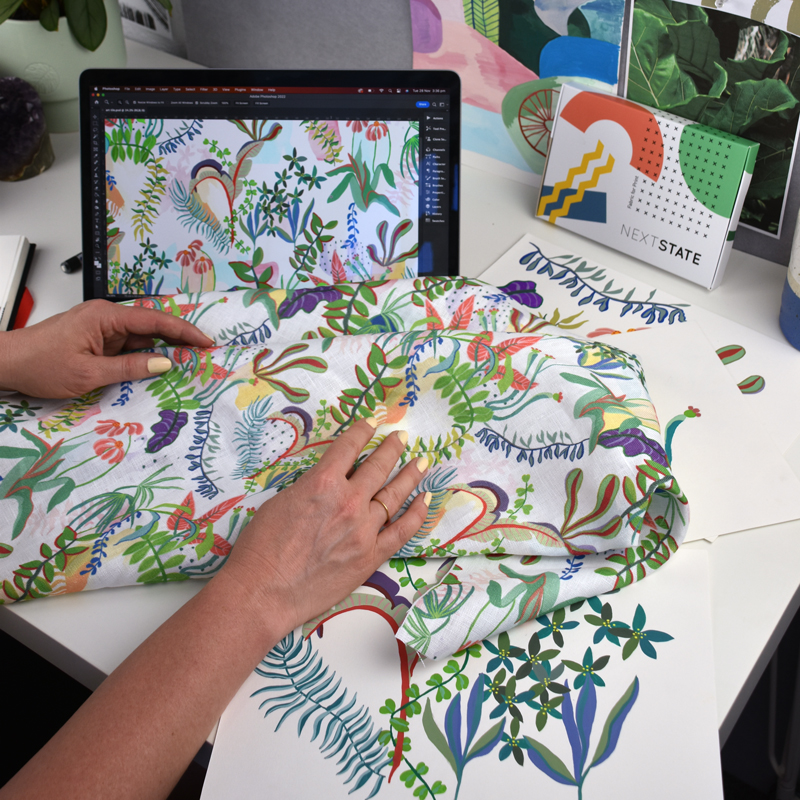

When creating the painting for the fabric you don’t have to do one complete painting, unless you plan on it being a placement print like a cushion. I recommend painting in groups of smaller works that become your motifs. Create some paintings that are grouped together and some that are individual elements.
Layering and arranging the motifs in a digital space is much easier when you have more elements to work with that you can scale and adjust. It makes filling gaps easier and brings a better balance to a repeating pattern design.

You need to get the original artwork into a digital file and the best way to do this is a scan, as high resolution and quality as you can access. I use a small home scanner but you can also head to Officeworks and they do it just fine. For larger works you may need to go to a professional art scanner. Now for the boring part. You need to meticulously remove the background page of your artwork.
I have tried all the different special background removal tools and apps and even sent the challenging works to overseas design houses that will remove backgrounds, however I have always been happy with the work when I just accept there is no short cut and do it myself.
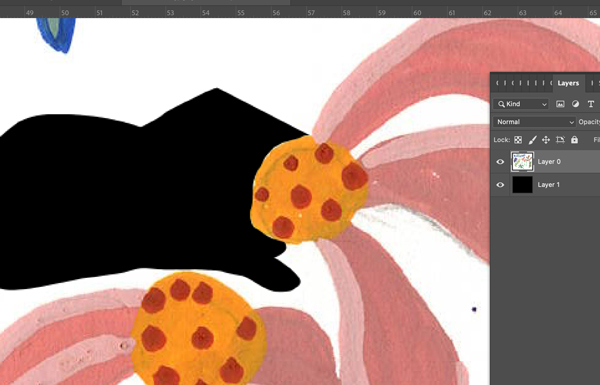
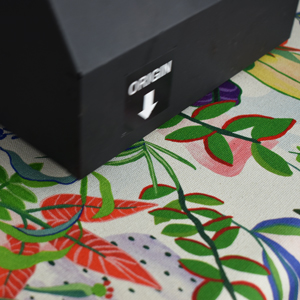
I work in Photoshop or on my iPad, you can use any design software you prefer. The process starts with erasing large sections of the page, I always have a black background behind my image, so I can ensure I am doing it perfectly. I zoom in so close I can see square pixels and carefully erase any paper so I have lovely little free floating motifs.
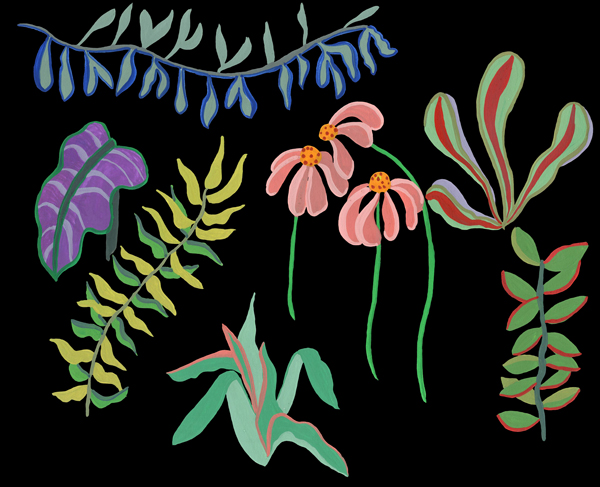
Once I have all of the motifs cut out and as individual layers you can arrange the pattern. I recommend thinking about how you want the pattern to be printed and scale a new document to that size. For this work I scaled my document to 50cm x 50cm.
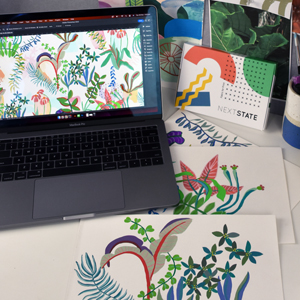
Using Photoshop I have created a seamless repeat using the different painted motifs.
Some of the motifs sit on their own and some are interlinking and layered behind each other. This is possible because of the hard work in removing the background.
It’s too challenging to explain in the written word how to create a repeat in Photoshop. There are so many great video resources out there. Here is one I like https://www.youtube.com/watch?v=Roe1qAH2pjo
Now the fun part! Browse our fabrics and select the right one for your project (if you are not sure we can help with that)
Then Upload your design to our fabric creator and we will custom print for you. https://nextstateprint.com/fabric-creator/

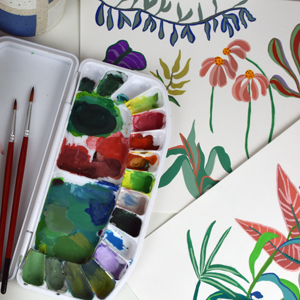

Take away tips when transforming painting to fabric
- Plan the painting and create multiple works
- Spend the time to get a good scan and remove the background
- Up-skill yourself on a software that suits you to create a repeating print, keep it simple if you are new, don’t jump straight into a professional design software.
- Make sure you work on the design in a scale you would like it printed.
- Print a swatch or test the artwork before printing yardage, so you can check colour and the way the file looks on fabric.
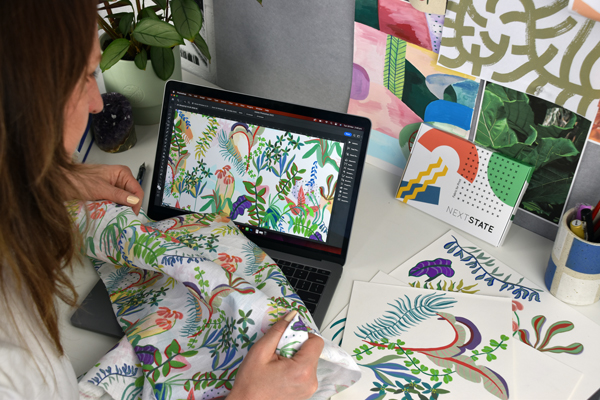
Oh Hi, I’m Chole and I’m one of the founders here at Next State.
I have years of experience in print and design. My best advice is to establish what you want to achieve and then work back on the design. Good things take time and creating paintings to become a textile is a slow process, so enjoy each of the steps.
If you don’t have a design software you can have a look at Photoshop it is a paid service but if you are serious about what you would like to achieve it is worth considering or at least getting a free trial. https://www.adobe.com/au/products/photoshop.html
